A laser cuttable "path tile game".
Made from the algorithmic generator at http://daign.github.io/path-tile-game-designer/
With a hinged folding board.
http://www.thingiverse.com/thing:1227372
Tuesday, 12 January 2016
Saturday, 3 January 2015
Friday, 2 January 2015
Aluminium tape
Using acrylic, I made a batch of decorative gems for craft projects.
They're on Thingiverse at http://www.thingiverse.com/thing:618889
I was cutting these in clear (or tinted) acrylics with a backing of silver or gold cardboard.
While trying different materials, I found a nice looking and cheap combination. Laser-ply covered with a sheet of thin aluminium adhesive insulation tape. Etching burns away the tape to leave tiny scorched mirrors.
It reminds me of Indian Shisha mirror designs.
This kind of tape:
(Usual disclaimer about lasers, hazardous materials, safety, etc)
Friday, 5 September 2014
The Resurrection
A year later... I've decided to fix the laser.
I need access to a cutter for some prototyping for work and having one in the room is much easier than venturing over to Makespace.
I bought a replacement tube on eBay which was dispatched from Germany.
After disconnecting the power and water tubes, I took the tube outside to inspect the damage.
The original power to the tube was connected with glue and cable ties.
The bulb contacts don't seem to be solderable, so I've replaced with crocodile clips (and some insulation, not shown).
Fitting the PVC cooling pipe to the glass tube was a pain. With the supplied tube, no glue was used, they were just pushed very very tight. I found that stretching the PVC tube with a rawplug helped.
When fitting the tube, I was careful not to move any of the brackets and it looks like I've gotten away without adjusting the mirrors.
And we're off again!
Monday, 5 August 2013
Sad laser
Pro tip: Never accidentally run your laser without first turning on the water pump.
There was a loud crackling noise and now nothing.
Stay tuned for our next exciting installment where I attempt to source, fit and align a new laser tube.
It's only a 40W invisible laser beam triggered by 20kV and surrounded by water, WCPGW?
There was a loud crackling noise and now nothing.
Stay tuned for our next exciting installment where I attempt to source, fit and align a new laser tube.
It's only a 40W invisible laser beam triggered by 20kV and surrounded by water, WCPGW?
Friday, 2 August 2013
Slicing
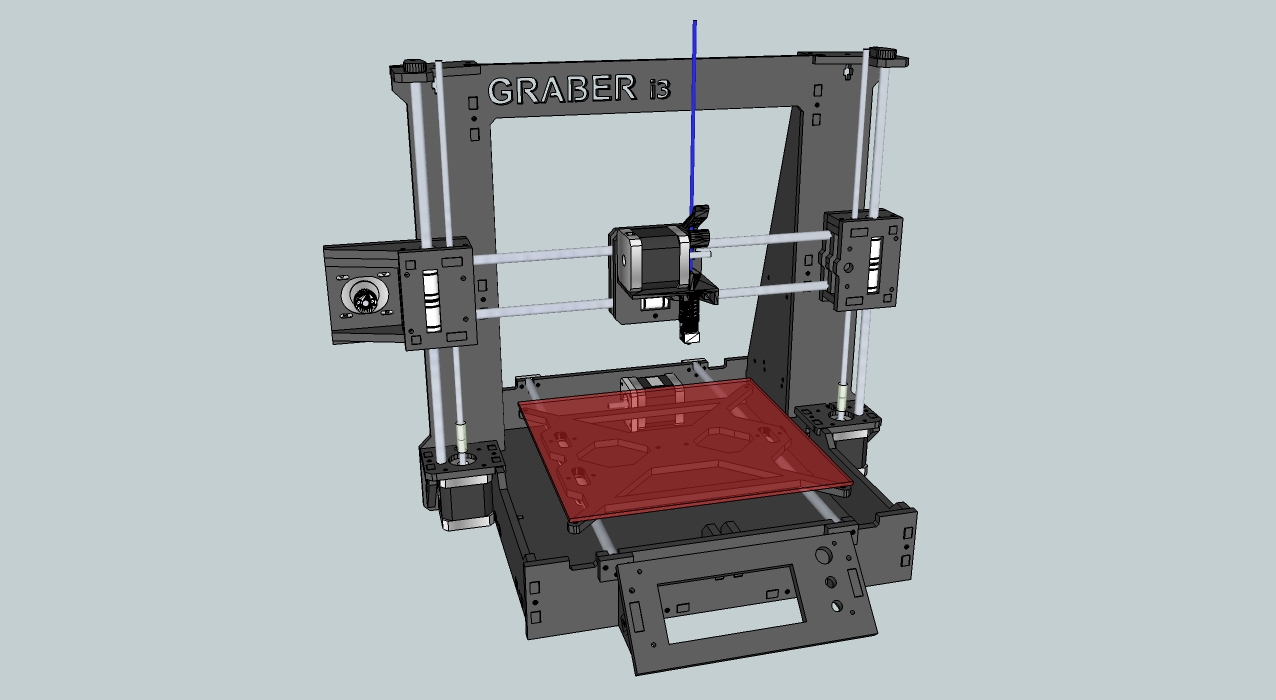
There are several 3D printers built from mainly lasercut parts. I've looked at the printrbot-LC and the Prusa-i3/Graber-i3.
Unfortunately, they all have parts too large for my small laser cutter. Without modifying the mechanism, I can only reliably cut about 30x20cm. All of the designs also need 6mm thickness material, which I haven't tried cutting.
So, I'm experimenting with building the large parts in two 3mm layers with each layer sliced at different points.
So far, so good...
Thursday, 1 August 2013
Storage
I have a lot of junk.
Having more storage for all my bits and pieces is useful, so I cut out and assembled some of these open top boxes. Originally, they were meant for 5mm MDF, so I scaled the design for the 3mm plywood I have.
Very useful.
Having more storage for all my bits and pieces is useful, so I cut out and assembled some of these open top boxes. Originally, they were meant for 5mm MDF, so I scaled the design for the 3mm plywood I have.
Very useful.
Subscribe to:
Comments (Atom)


